

readwithpride.com
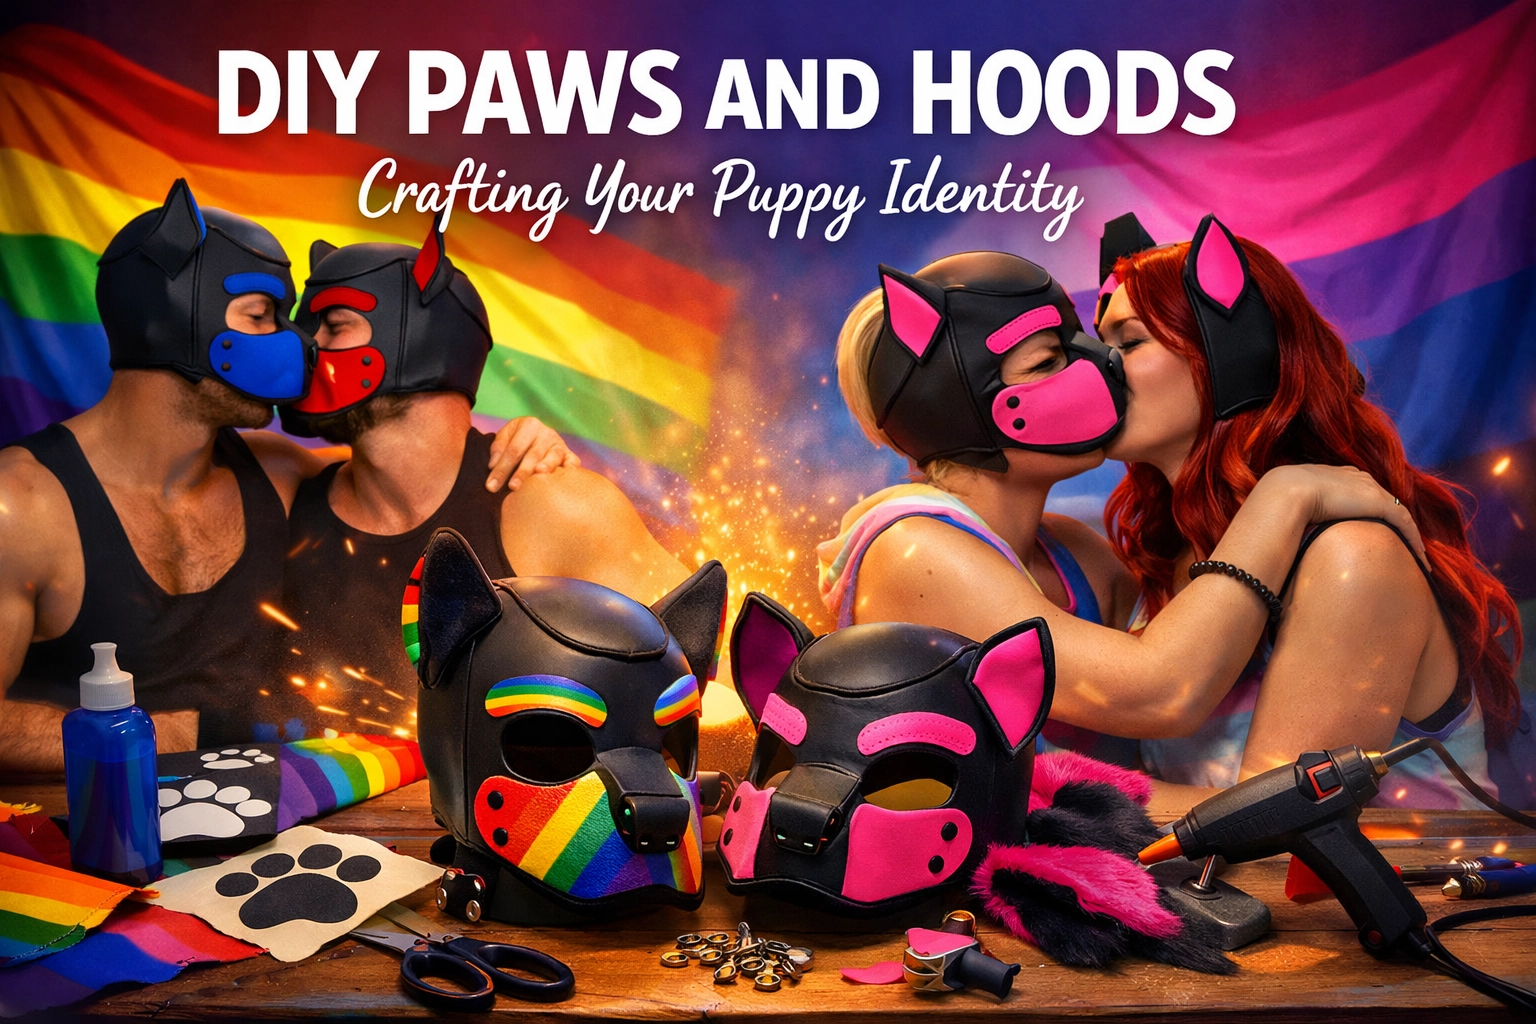
So you've discovered the vibrant world of puppy play and you're ready to craft your pup persona, but your wallet is giving you major side-eye? Welcome to the DIY club, friend. Creating your own pup hood and gear isn't just about saving money: it's about crafting something uniquely yours, stitch by stitch.
Just like the characters in our favorite MM romance books who discover themselves through their journeys, building your pup gear is an act of self-discovery. It's intimate, creative, and honestly? Pretty damn empowering.
Why Go the DIY Route?
Let's be real: professional pup hoods can cost anywhere from $200 to $600+. That's a serious investment when you're just dipping your paws into the scene. But beyond the budget factor, there's something magical about creating your own gear. You're not just buying an identity off the rack; you're literally sewing it together with your own hands.
Plus, DIY gives you complete creative control. Want a hood with neon pink spikes? A paw with galaxy-print pads? A design that reflects your specific pup personality? You got it. This is your canvas, and there are no rules except the ones you make.
Gathering Your Materials
Before we dive into construction, let's talk shopping. The good news? Most of these materials are available at your local fabric store or online, and they won't break the bank.
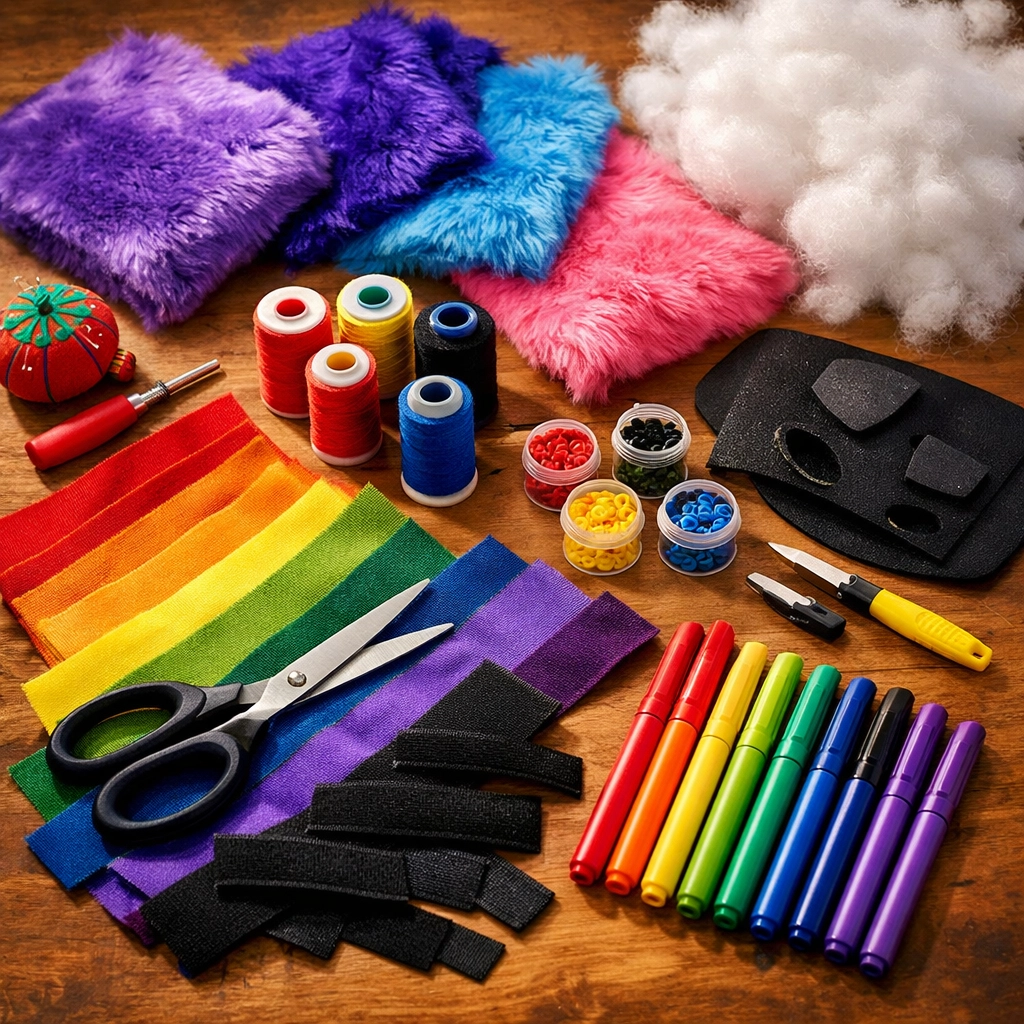
Essential supplies:
- Outer fabric: Cotton or flannel works great for beginners. Choose something durable that matches your pup aesthetic.
- Lining fabric: Minky or soft cotton for comfort against your skin
- Faux fur: This is where your hood gets personality. Quality fur adds depth and that authentic pup look.
- Velcro strips: For secure fastening that's easy to adjust
- Stuffing material: Polyester fiberfill for ears or spikes
- Basic sewing supplies: Thread, scissors, pins, fabric markers
- Sewing machine: Or a lot of patience and hand-sewing skills
Total cost? Usually between $30-$60 for a complete hood and paw set. That's less than a night out and way more rewarding.
Crafting Your Pup Hood: Step by Step
Here's where the magic happens. This is rated about a 2 out of 5 on the difficulty scale, so even if you're not exactly a sewing wizard, you can totally pull this off.
Step One: Create or Find Your Pattern
You can download free patterns online or create your own by measuring your head circumference and desired hood length. Sketch it out first: this visualization step helps prevent those "what was I thinking?" moments later.
Step Two: Cut Your Fabric
Fold your outer fabric right sides together and cut around your pattern. Do the same with your lining fabric. Pro tip: Add a half-inch seam allowance to all edges. Future you will thank present you.
Step Three: Sew the Back Seam
Stitch along the back curve of both your outer and lining pieces. Clip or trim the seam allowances so they lay flat: this prevents that lumpy look nobody wants.
Step Four: Ear Construction
This is where your pup really comes to life. Cut two pairs of ear shapes (four pieces total). Sew along the outer edges, leaving the bottom open. Turn them right side out and lightly stuff the outer curve. You want them to stand up but still have movement.
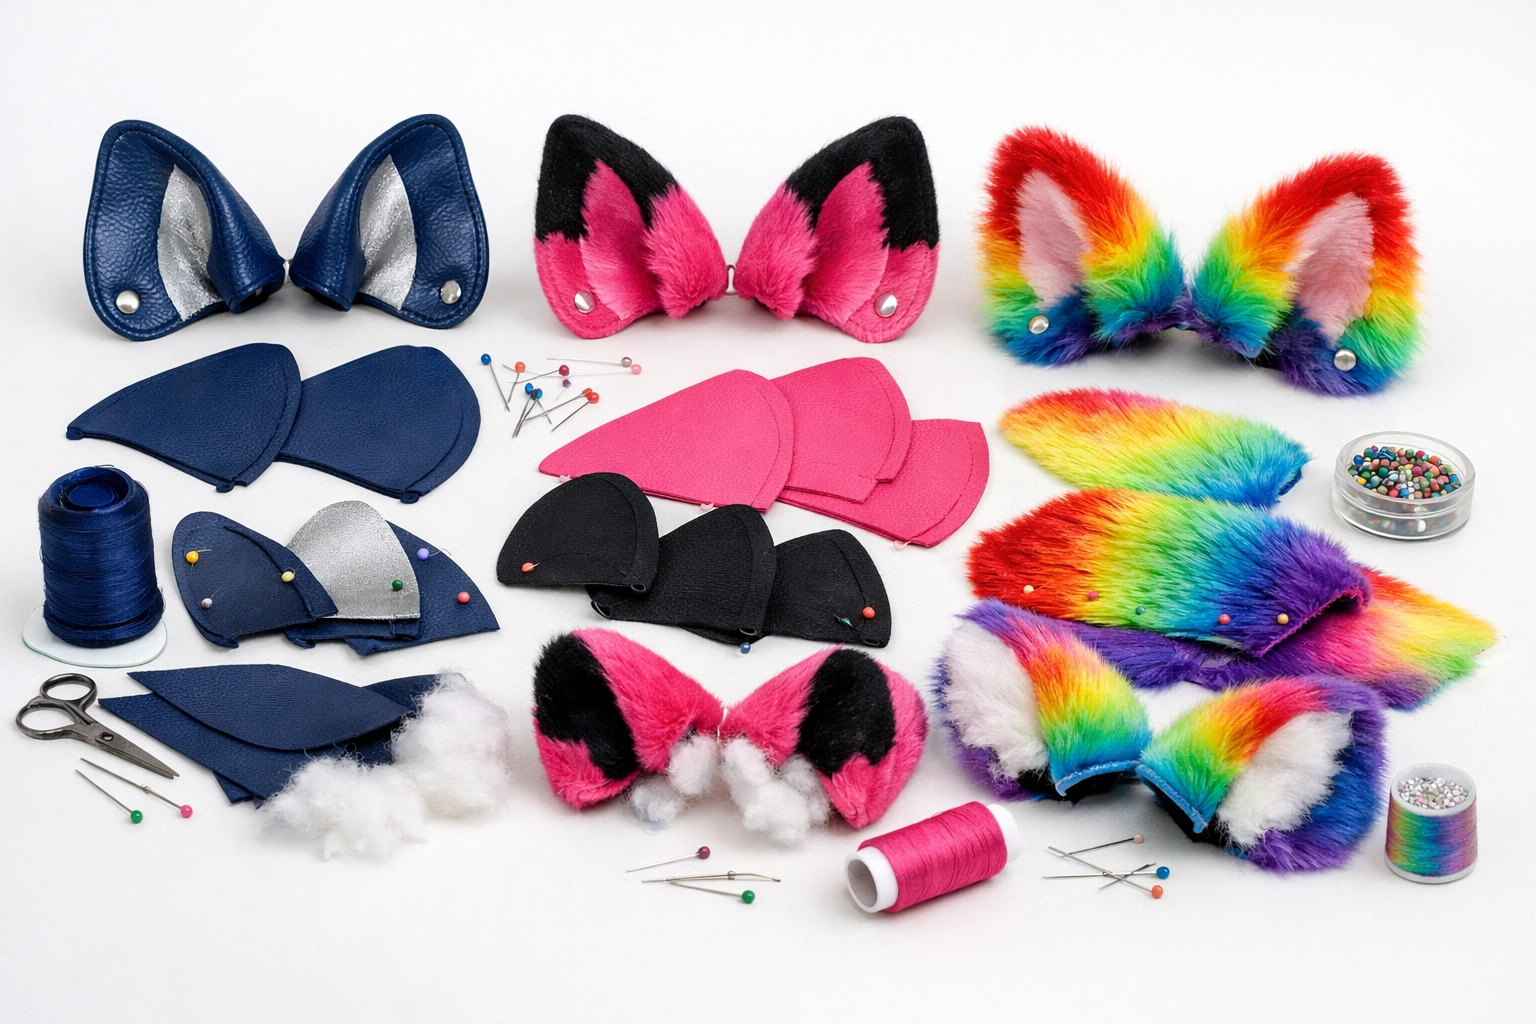
Step Five: Attach Those Ears
Mark where you want your ears on the hood. Pin them in place, then sew carefully through all layers. Double-stitch these bad boys: nobody wants floppy ears falling off mid-play.
Step Six: Join Outer and Lining
Place your outer hood and lining right sides together. Sew around the entire edge, leaving a 5-inch opening at the bottom. This opening is your escape hatch for turning everything right side out.
Step Seven: Finishing Touches
Turn the hood through the opening, push out all corners and curves, then hand-stitch or machine-sew that opening closed. Top-stitch around the edges for a professional finish and added durability.
Step Eight: Add Velcro
Sew velcro strips at the neck area for secure fastening. Test the fit: you want it snug but not suffocating.
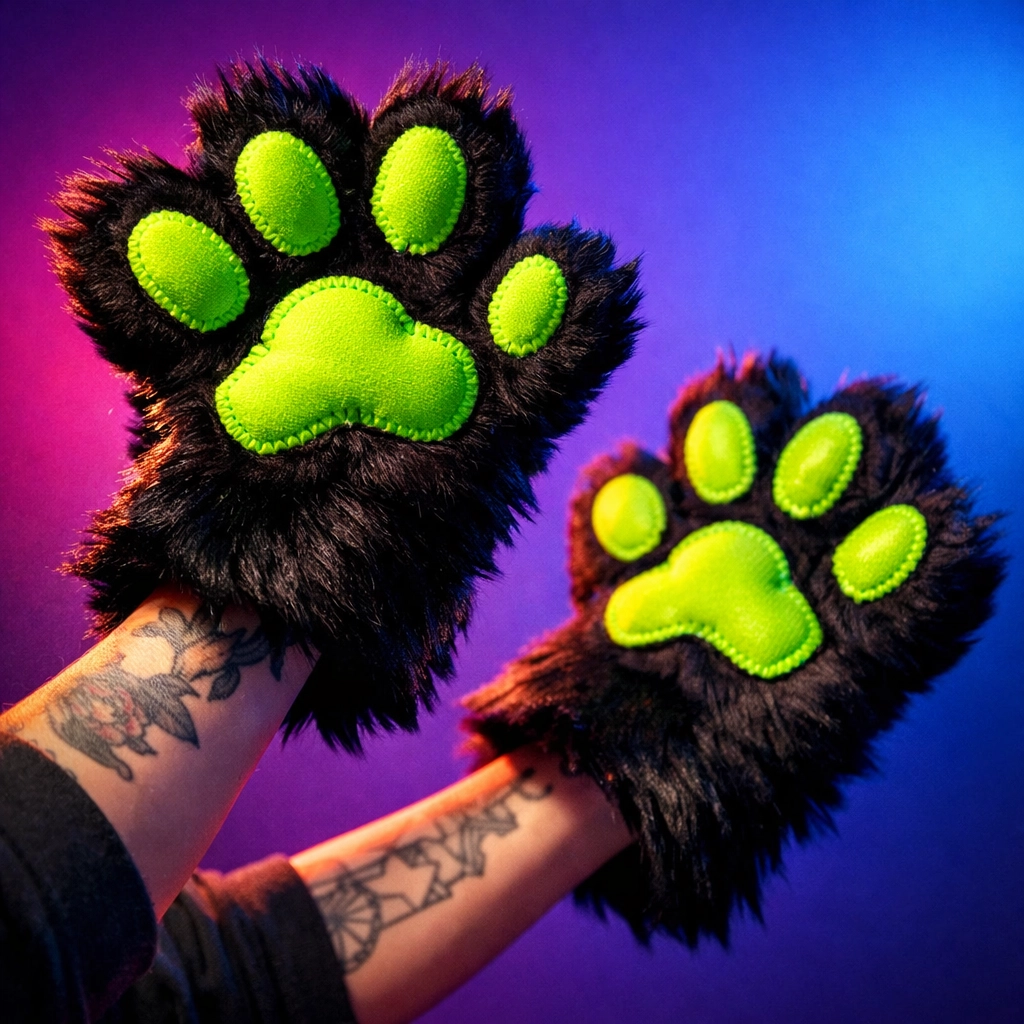
Paws That Pop
Paws are actually easier than hoods and give you instant pup vibes. Here's the quick version:
Use your own hand as a template, tracing around it with added seam allowance. Cut four pieces per paw (front and back for two paws). Before sewing them together, add paw pad appliqués using contrasting fabric. Zigzag stitch around the pads for a secure, decorative finish.
Sew the paw pieces together, leaving the wrist area open. Turn right side out, and add elastic or velcro straps at the wrist for easy on-and-off action.
Design Tips for Maximum Personality
Your pup gear should reflect your identity, not someone else's vision. Here are some ways to make it uniquely yours:
Color choices matter: Bold colors make a statement. Pastels give softer vibes. Black and leather tones lean more traditional. What speaks to you?
Texture adds depth: Mix fabrics: smooth cotton with shaggy fur, matte with metallic accents. Layering textures makes your hood look professionally crafted.
Details tell stories: Add patches, studs, ribbons, or embroidery. Maybe a collar tag with your pup name? These small touches make your gear feel complete.
Comfort is key: You'll be wearing this during intimate moments or extended play. Make sure everything breathes, nothing chafes, and you can actually see and hear reasonably well.
The Bigger Picture
Creating your pup gear connects to something larger than just costume-making. It's about claiming space in a community, expressing parts of yourself that might not fit into everyday life, and finding joy in creativity and play.
Much like the transformative journeys we love in gay romance novels and LGBTQ+ fiction, crafting your pup identity is about becoming more authentically yourself. It's about permission: permission to play, to explore, to be vulnerable and powerful at the same time.
The queer community has always excelled at creating our own spaces, our own rules, our own identities when the mainstream world didn't offer us what we needed. DIY pup gear is part of that proud tradition. You're not just making a hood; you're participating in a legacy of queer creativity and self-determination.
Your Next Steps
Start simple. Maybe just paws first, then work up to a full hood. Join online communities where pups share patterns, tips, and encouragement. Document your process: you might inspire someone else to take the leap.
And remember: your first attempt doesn't have to be perfect. It just has to be yours.
Whether you're exploring puppy play, diving into MM romance books, or any other form of authentic self-expression, the journey matters as much as the destination. At Read with Pride, we celebrate all the ways our community creates, explores, and loves.
Now grab those scissors and start crafting. Your pup self is waiting.
Find more LGBTQ+ stories and resources:
#PuppyPlay #LGBTQCommunity #DIYPupGear #QueerCulture #ReadWithPride #MMRomance #LGBTQBooks #GayFiction #QueerCreativity #PupHood #LGBTQIdentity #GayRomance #QueerFiction #MMRomanceBooks #LGBTQPride #AuthenticSelf #CommunityBuilding #DIYCrafts #PupCommunity #QueerExpression
Leave a Reply
You must be logged in to post a comment.